|
When launched, LabHelper displays a splash-screen. Click on it to move to the next step (or simply wait a few seconds). The program runs a speed test and then opens a window (below) that prompts to you select an A-D converter. The 'test mode' option lets you run the program with a simulated A-D device.
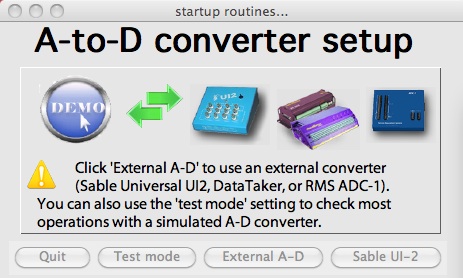
If you clicked the 'External A-D' button, another window opens with a choice of converter hardware:
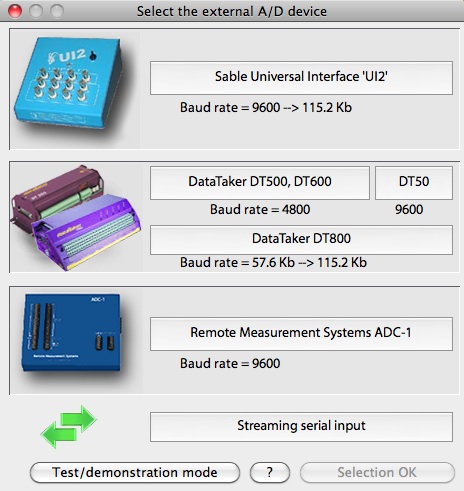
The 'streaming serial' option is for reading serial (ASCII) output from an external device, instead of the analog voltages, resistances, etc. handled by A-D converters.
After A-D converter selection, the program asks you to identify
the correct serial port (this is bypassed if you used 'test mode'). Here, the user has selected the first port on a
Keyspan 2-channel USB-to-serial adapter):

After serial port selection, the window for selecting recording
modes will appear in its place. From here you can select the
mode and number of channels, or choose a pre-recorded setup file.
If you click the setup file button, a standard file selection dialog appears,
showing available setup files. After selecting one, you are
routed directly to the Display Setup
window.
If you selected Oscilloscope or
Oscilloscope plus chart mode, after you exit
the Display Setup window you will
be presented with a standard Mac dialog requesting a file root name.
Saved oscilloscope screens will have a name consisting of the root (e.g.,
'bird data') plus a suffix corresponding to the sequence number of the file
(e.g., 'bird data 1', 'bird data 2', 'bird data 3', etc.). You will
be warned if the first file in the sequence already exists.
After the file root is selected, the program presents a window for entering
comments (up to 32,000 characters) and data for gas
exchange calculations (body mass, air flow rate, barometric pressure, etc.).
Edit these as necessary (they usually can be ignored for oscilloscope data),
then click 'Selection OK'.
- You can also access the file comments and data window from the Edit menu.
|
 Warthog Systems LabHelper X